
Here's what I did:
 |
| I bought a fold-out, metal bike basket but needed to create a top for it so Llyr couldn't jump out. I did this with fabric, though I could have maybe made one out of chicken wire or something else. I made a flat top with flaps that had Velcro. The flaps fold around the edge of the metal basket and stick to the underside of the lid. That's kind of hard to explain, but you can look at the pictures further down and I think it is pretty clear. This is a picture of the most annoying part, attaching the Velcro - it is the sticky kind, but that doesn't always stick permanently, so I had to sew them all down, and the thread kept jumping out of the needle on the sewing machine if I wasn't really careful. Also stopping and starting is bothersome to me. |
 |
| Flaps with Velcro. I went all out and sewed them shut inside-out so no seams or edges show. Then I had to turn them right-side out ... with Velcro, which is not very forgiving or flexible. Another annoying part, but they look nice and not ragged. |
 |
| Laziness kicked in. I stuck the soft-side Velcro to the bottom of the lid (figured out placement by lining it up on the basket and looking at where the flaps could fold around the metal bars) and then I just sewed one line all the way around. It is on the bottom, so it won't show. I used leftover vinyl-like material so it would be waterproof, although I don't plan to ride in the rain. |
 |
| To sew the top and bottom pieces of the lid right-sides together and then turn right-side out (so the seam doesn't show), I lined up the flaps like they would attach to the soft Velcro side (but I didn't just stick them together, I left some room for going around the bars of the basket). I pinned them there and then laid the other piece of fabric on top, right sides together, and sewed, leaving a hole to flip it. |
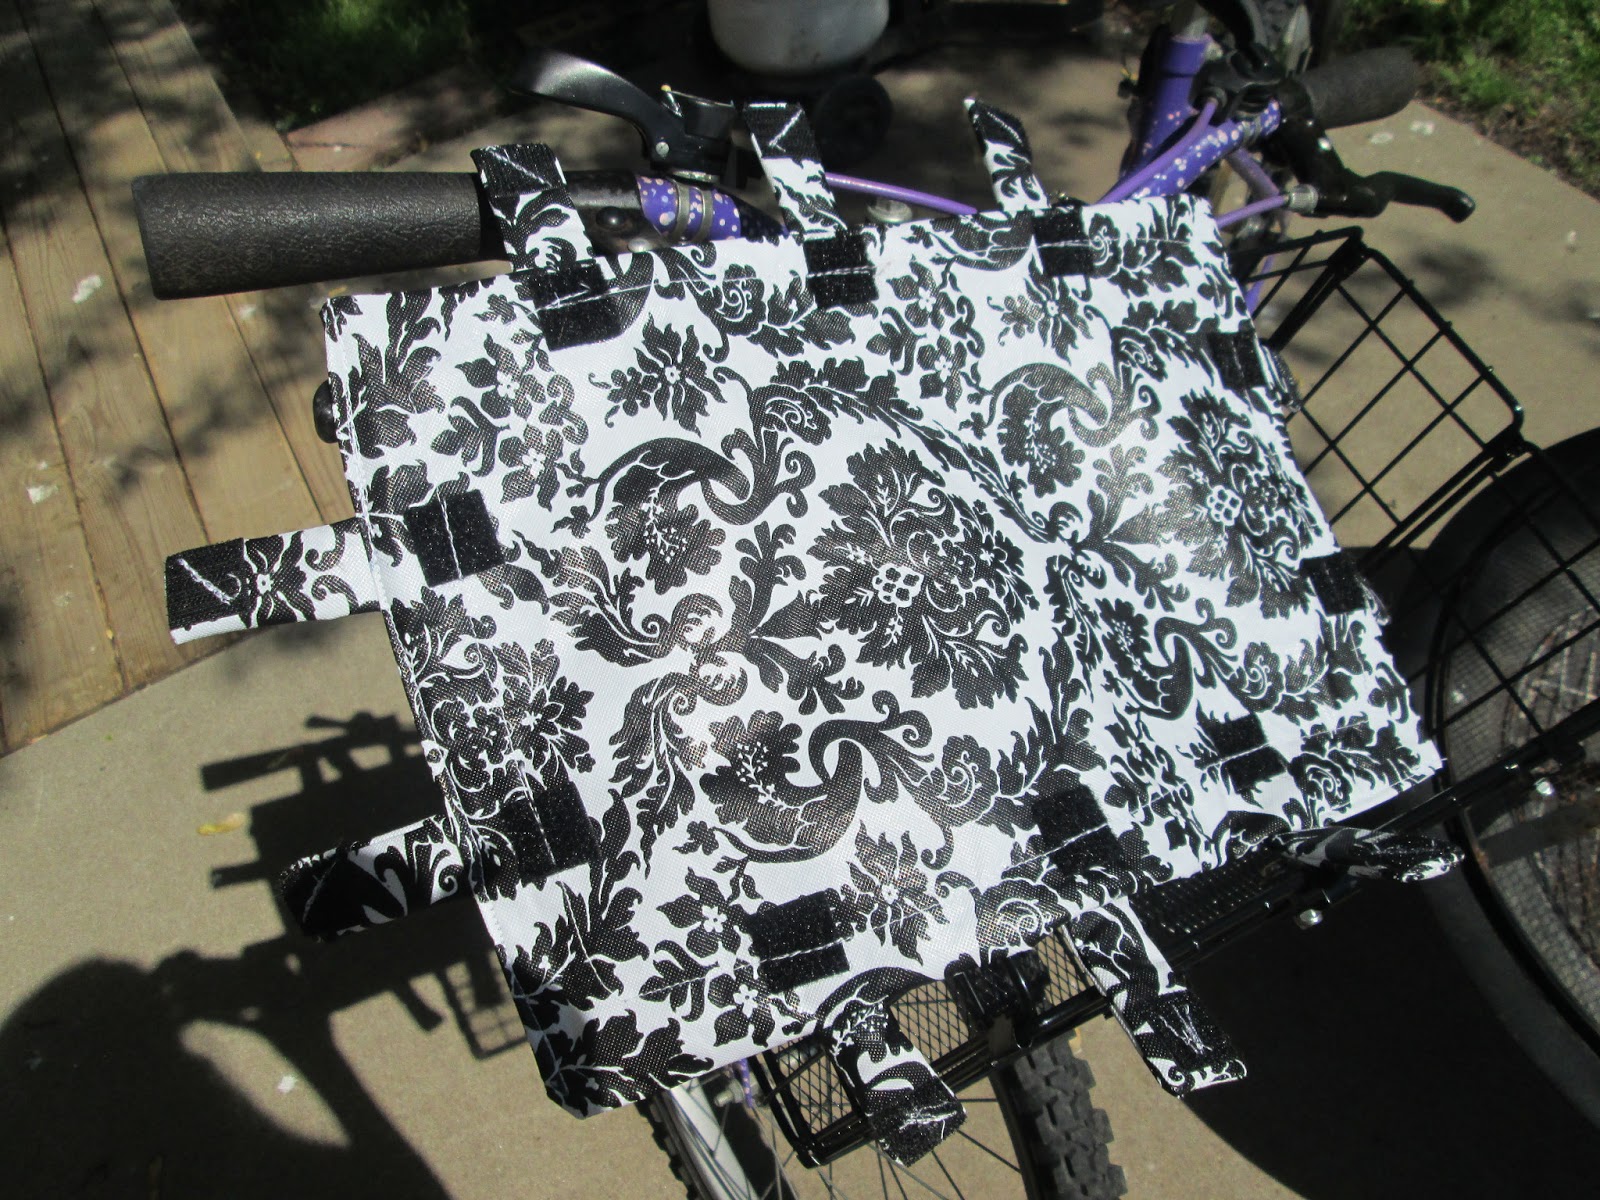 |
| Okay, now you can see it and maybe it makes sense. This is the underside of the lid showing with flaps attached. Flipped over, the flaps can wrap around the top bar of the basket and Velcro shut. |
 |
| The lid is on the basket. |
 |
| And now the kitty is in the basket! He hadn't really liked getting in the basket with no lid, but once I sort of coerced him into it and shut the lid, he laid down and during our little test-ride around the neighborhood, he didn't seem to mind too much. Llyr mostly looked around or looked at me. I didn't hear him meow like he was scared, and with his weight to hold the basket steady it didn't wobble as much, which I'd been worried about when I was riding it around, testing the tightness of the straps. Notice the straps are dog collars. A bit expensive and a better alternative could probably be found. The kit came with zip ties as well as leather straps for "easy removal" but the leather was really, really thin and I knew it wouldn't hold up. But I wanted to be able to take it off if I needed, so this worked all right. |
Llyr doesn't like riding in the backyard. It is bumpy. But on the road he seemed all right. Now we can take him to the park with us easily, without having to carry him. He's heavy and skittish and carrying him gets tiring, but this way he can see the sights and go with us.
Project Kittymobile: Completed!
Awesome! Good work on the first project of the summer!
ReplyDelete