
I followed the instructions in the MS Magazine . . . but I either didn't follow them in exactly the right way or Martha was being really optimistic with how this would work. I had several snags. I see now looking at the instructions on the webpage that someone else had the same trouble with grommets . . . and I must admit that I'm not sure if anyone much bigger than me (at around 100 pounds) could hold up really well in the hammock I made. Perhaps if I tried to sturdy it in other ways to make it hold better. Well, anyway, after all the work I spent on it I'm still going to tell you about this project, even though it was not an all-around success.
First of all, I had to buy a canvas bigger than I wanted, so that cost more. Martha suggested 6x9 and I went to Westlakes, where they only had 4xsomething and 12x9. That was my own fault - I should have checked Lowe's, too. I ended up spending $22 on the canvas instead of Martha's example of $11.50. I have canvas leftovers, of course, but wish I didn't have to spend the extra. Plus, that meant extra cutting and sewing an edge. Not too big of a deal though.
The first step after this is to fold over the end edges and sew a hem for "reinforcing." I'm guessing Martha (I say Martha, but I realize Martha doesn't actually write hardly any of the articles, and may not even try out all the crafts) meant to help the grommets that come in later keep from ripping out of the canvas. You will see later that this did not work well for me. I should have seen this coming since every time I've used grommets in costumes they've been notorious for ripping out, even when they DON'T have to hold any weight. But I followed the step. The next picture is of the folded over hem and placed grommets.
So, the grommets and grommet setter are another cost. Martha says to evenly space 18 grommets on each end. The grommet setting kit was $11.50 and extra grommets were basically $5. I could not get the grommet puncher to punch through two layers of the canvas, so instead I snipped a very small x where the grommet would be placed. This allowed me to push one grommet half through the x to be punched. This may have been a mistake that led to ripping, since instead of a round hole in the fabric there were snips that could possibly more easily rip . . . but I really think the fabric would have ripped anyway when I laid on it the first time. If you try it and find out otherwise, let me know.

After all the grommets are set, you can attach the cotton rope. Martha used a really funky pattern to get the rope through the grommets: through the back of the first grommet, through the o-ring, through the front of the second grommet, through the back of the third grommet, through the front of the fourth grommet and through the o-ring again. I followed the directions the first time. I realized later that this hammock would NOT lay anywhere near flat. It wanted to lay halved in the air even after I adjusted the rope - however, maybe this pattern and that type of hammock (the u-shaped rather than flat type) are sturdier? Or maybe just easier to make.
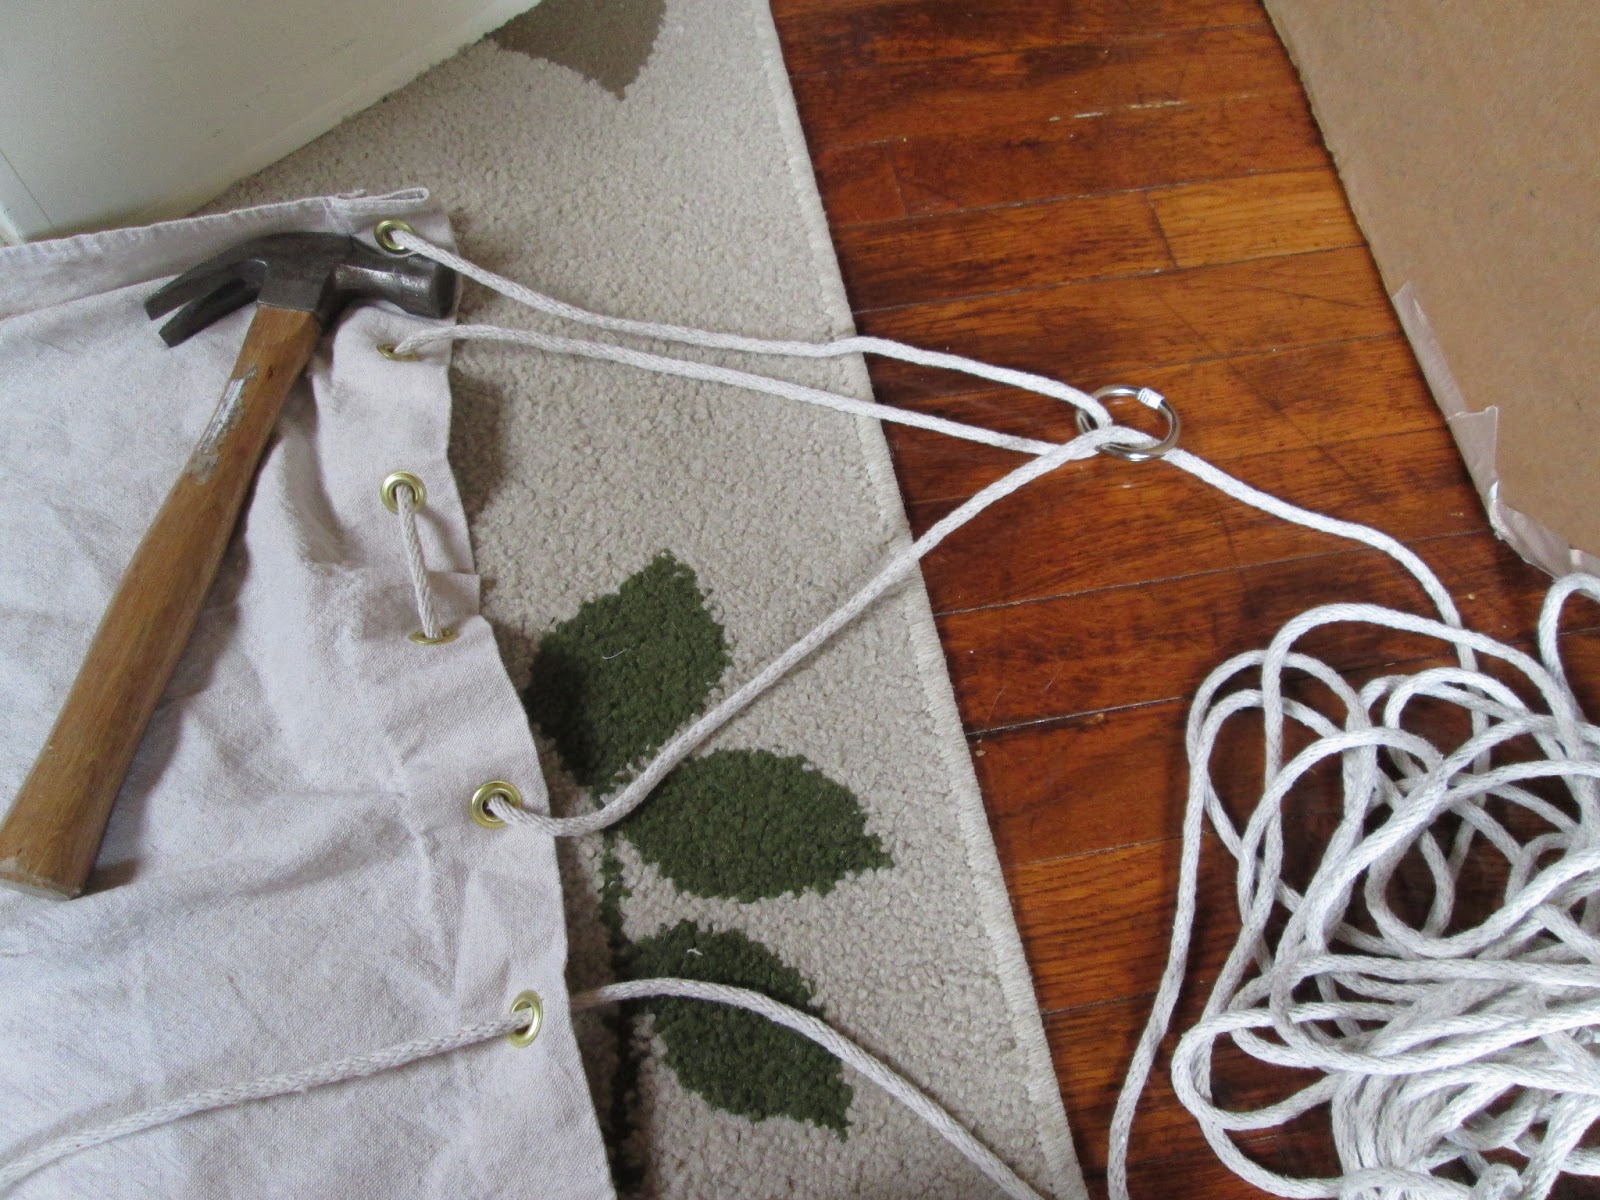
Kitty helping me do a preliminary adjustment of rope inside. Look at that craft mess.

We don't have two trees in our backyard. Well, we do . . . one is giant and old and drops branches all the time and the other, a teeny little willow tree, is on the opposite side of the yard. I used the clothesline pole and a post on the back fence to test it out and adjust some more.

As soon as I laid in the hammock, which was kind of tricky as it wanted to swing sideways, I heard some ripping. Below is what happened when I put weight on the middle grommets.


At this point I decided that maybe using a wooden bar would make the hammock more like I wanted it, and maybe would alleviate some of the pressure on the grommets by dispersing it a little. So, I used two boards I already had to create bars. I had to unstring the rope (took forever!) and lay the grommets over the wood bar to mark exactly where holes needed to be drilled in the bar. I drilled the holes, and restrung the rope, this time through the grommets and wood bar and o-ring. This time, I strung the rope through the o-ring after every hole instead of following Martha's pattern, thinking this would be better in this case. And I took some twine and fixed/reinforced the grommets. Not all of them, mostly the middle ones. So far it seems to have worked. It at least seems to be able to hold my weight without ripping them more.


Above is Llyr helping me decorate the hammock after it was put together. I used a Winnie the Pooh quote: "What I like doing best is Nothing." "How do you do Nothing?" asked Pooh after he had wondered for a long time. "Well, it's when people call out at you just as you're going off to do it, 'What are you going to do, Christopher Robin?' and you say, 'Oh, Nothing,' and then you go and do it. It means just going along, listening to all the things you can't hear, and not bothering." "Oh!" said Pooh.”
That quote does not describe me at all, by the way. I always have to be doing something. But I couldn't find any other quotes that had a hammock-y theme . . . and maybe I can enjoy just reading, and not bothering about anything else, in my hammock.

To hang the hammock, I also had to buy a post and cement it in the ground. I guess there might have been other solutions, but I'm hoping this will work. The 4x4 6-foot post was about $8 and the sandcrete was really cheap. I'm planting some flowers around the post.

Tried the hammock out today and I think if it will continue to hold up, it will be a success, albeit more expensive than I'd wished for a project. The eye hook I used on the post slipped a little when I laid in the hammock, but I twisted it in tighter and I think it may work. The hammock also sags a LOT when I am in it - so if you try this one out, be prepared for that - or maybe you could really "reinforce" and steady this by using other material that is not as stretchy.

Me and kitty in the hammock. Overall, probably not the very best choice of project, since, as I said, I probably could have bought a nice hammock for around the same price (when I factor in the canvas, ropes, o-rings, grommet kit, etc, it was $70+) that would still be enjoyable, even if not handmade. Maybe more enjoyable because I wouldn't have to worry about it falling down to stretching. But, I'm happy enough with this one for now and I will keep trying to find ways to sturdy or improve it if need be.


No comments:
Post a Comment