Tuesday, January 22, 2013

Llyr Montage

Here's a Llyr montage for you . . . because I know you are dying to see pictures of our adorable, ferocious cat. Why else did you come to this page?

June 2012. Tiny and adorable in our bird feeder swing.

Back when he still slept on our laps. He's so tiny and cute!
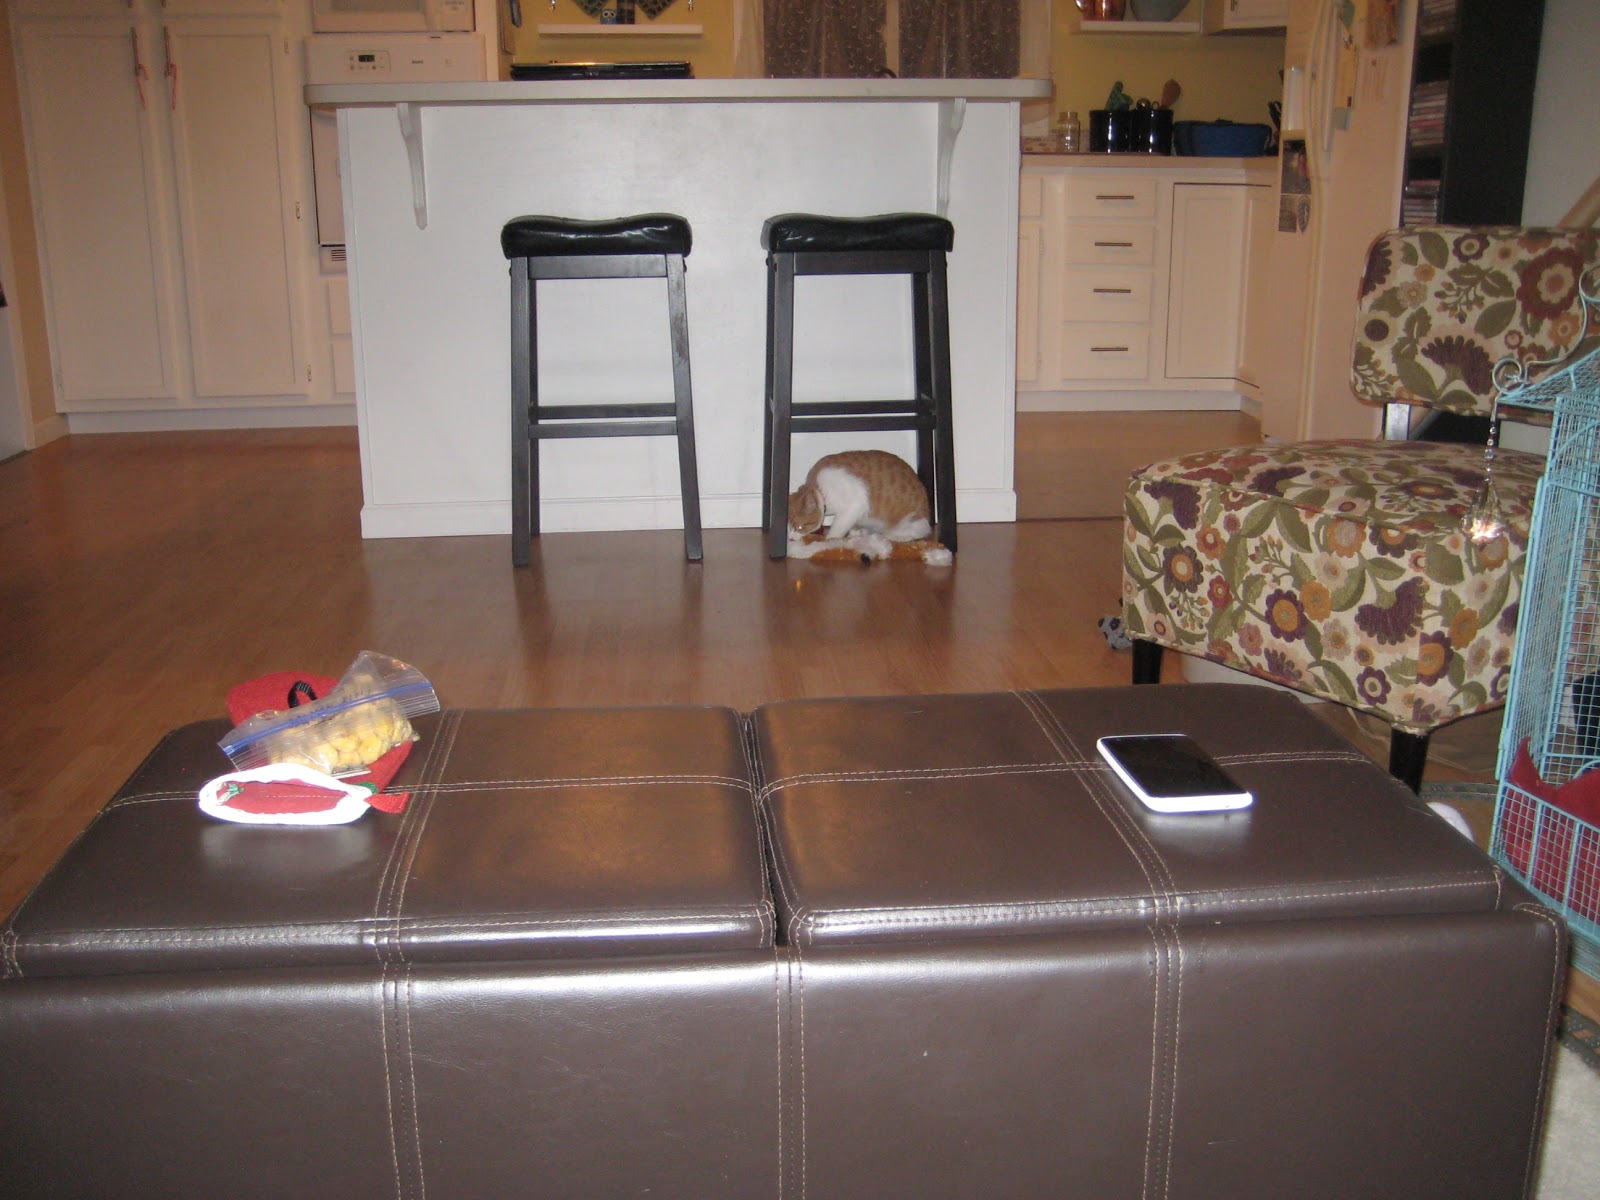
Can you see the kitty?
Pounce!

 
Llyr cleaned and did all my homework for me. Not.
August 2012. He liked to sleep in the papasan, all curled up.
Llyr really liked to lay on our clothes.
 
He is always looking out that window, wanting to go outside.
Then when we plan a trip *OUTSIDE*, he does NOT want to go.
Llyr happier later that day.
Meercat Llyr.
October 2012. Bothering the dog in the yard catty-corner from ours.
This is when we tried to keep Llyr off the counters with carpet tack
and aluminum foil. Yeah, right.


King Llyr for Halloween.
He does not look best-pleased here, but look at that handsome
moustache!
 
These are Llyr's "hunting eyes." Notice they are almost completely
black. He shares them with us often.

Llyr and my parents' dog, Dollar.
December 2012. Trekking through the snow.
January 2013. A special occasion - sleeping on Matt's lap.
  

Thursday, January 17, 2013

No Term Limits

Just some thoughts I wanted to share:

Last night I saw this short article about ways to spark up your relationship if you are in a "long-term relationship." I shared some of the ideas with Matt. They were decent, but nothing we couldn't have come up with ourselves - just nice reminders of fun things to do. What I really wanted to talk about was a comment Matt made about the title of the article. He mentioned that the term "long-term relationship" seems kind of funny. I realize they were appealing to both married and non-married couples who have been together for several years, but I also think he makes a good point.

We discussed how if you are in a long-term relationship, why would you call it "termed" at all? It's not like you'd want to put terms limits on a relationship that will hopefully continue to last. I realize we were probably thinking about it too much - the writer of the article was mainly using that to differentiate and focus on people in that situation. Then again, how often do you hear someone say "Oh, I'm in a short-term relationship" as if they know it's going nowhere? I realize that does happen, but that just never appealed to me. Even before I met Matt, I didn't want to go out with someone if I knew I couldn't see myself possibly being with them indefinitely.

I also realize there are terms such as "committed relationship" which get across a similar idea without the word "term." So that's what Matt and I are in. No term limits on this marriage! It will still be Carver-Carver in 2016, 2020, 2024, and as far into the future as we can see.

Friday, January 4, 2013

DIY Correspondence Book with Stab Binding

How many of you out there would like to write a book someday? I'm with you. I've started lots of stories and I still hold out hope that someday I will have the time and inspiration to finish one, even if for only myself/friends. If nothing else, one November (National Novel Writing Month!) I'll FORCE myself to crank one out, even if it sucks, just to say I have. But right now with Graduate School and everything, there's just not time to sit in front of the computer trying to come up with material. I only work on fiction if I am hit with sudden inspiration. Unfortunately much of that is drained by Graduate School papers.

However, that doesn't mean I can't make other "books" in the meantime to somewhat assuage my cravings to create. Over Christmas I taped together 18 "Ancestry Books" with my and husband's immediate and extended family trees (after doing HOURS of research, making calls, and using the free trial on ancestry.com to get information) to give to my family members. They turned out cute and interesting, I think, if almost too small to read on a few pages since I printed it on 8.5 x 11 paper instead of something bigger.

I've also been working on another "book project" that I finally finished today. For this one, I already had all the text material - I just needed to format it, print it, and assemble.


I recently used Facebook's new tool to download and backup content (like messages and pictures) from my account. During our 5 years of dating, Matt and I often used Facebook to send messages to one another, especially in the early months when we normally saw each other only 2 days a week and weren't quite brave enough to call each other all the time. My parents were usually unhappy about the length of those calls once I did cross that threshold. We used Facebook like instant messaging sometimes, so there ended up being a lot of messages. Being a collector of things, such as all of Matt's letters and notes to me, of course I needed to save these messages. In the past I'd tried copy-&-pasting these to Word documents. The new "backup" tool is much more effective.

I downloaded all the messages from 2007, when we both started using Facebook, to our wedding in April of this year.

At 12-point font, there were 602 single-spaced pages.

I lowered the font size and deleted extra spaces to lower the length to a manageable size. The only bad thing was that I can see the date of each post in my download folder, but not when I copy the text over to LibreOffice Writer, the program we have on our main computer. I decided NOT to go through and type in the date for every post. That would have been a nice touch, but maddening. I did type in the name of each new month so I could keep some track of time. Then I selected all the posts from 2007 only and decided to start there, saying I'd possibly move on to later years in the future.

From just July to December 2007 takes up about 80 pages at Times New Roman 10.5. I wanted to make a small-size book, so I formatted the page landscape-wise with 2 columns. Basically most of the rest of the work consisted of making everything justified (because then it looks like a novel), formatting every line that ended a paragraph to fix the word spacing that justifying created, and tabbing in most new paragraphs by hand since it copied as straight text with almost no formatting. Whoo. Took forever.

Then the fun part. Printing each page front-and-back manually so I didn't waste paper and would have an 80-page book instead of a 160-page book.

Then came assembling the book.

Matt got me a really awesome book called Indie Publishing: How to Design and Produce Your Own Book. It has everything you'd need to know, from ISBNs to self-publishing to design. Towards the end is a section that shows you how to create your own books on a small scale, such as with pamphlet pages or stab binding. I used stab binding to create my correspondence book:

Line up all the pages and the cover (which needs to be twice the width of a page plus the width of the stack of your pages ... my cover needed to be 11 3/8 inches because the stack was about 3/8 of an inch tall). Secure the pages and cover in place with binder clips. Measure, mark, and punch the holes. They suggest using a "screw punch." I don't have one of these and I'm impatient, so I used the long, sharp, needle-like instrument you see in the picture, which is a scrapbooking tool for poking holes. I had to hammer it through the pages and eventually do the back side as well to make the holes large enough for my needle. Still, it was hard to shove the needle through later. Make sure if you ever do this to make the holes large enough.


Thread the binding. There is a funny formula for how to bind the book to make it look uniform and sturdy. I'm not going to go into all that detail here unless someone asks. Also you can probably find out how to do stab binding online somewhere. Tip: Make sure your thread is PLENTY long enough the first time. Probably three times the length of the book is good. I just about ran out.


Tie it off and you are done! Here's my finished book that more than anything I just wanted to share with everyone after the hours of work I put into it. And I didn't even fix all our typos in the text! I decided that made it more realistic (and we apologize for them in many messages) ... plus, that would have driven me crazy. I can now look back at our messages whenever I want ... but I can also pretend that Matt and I wrote a book together. We basically did! I remember when "text message" novels for teens were kind of popular, or diary-entry novels ... this is just like that. And we didn't have to make anything up, it's all what we really wrote. Pretty fun, I think. But I'm also a hopeless romantic.


Thursday, December 27, 2012

Holiday Fun

Some highlights from December and Christmas:

Llyr being cute:

Making presents for Matt. I made him a decal for the computer he made and christened "The Bebop" out of sticker paper, Cowboy Bebop mugs with a Sharpie (we'll see who is right about them staying or washing off, I've heard both), and a kindle sleeve. 

Treats!


 Opening Stockings:


 Seeing Christmas Laser Kitty:


Our first Christmas was certainly a merry one!


Sunday, December 2, 2012

How to Decorate for Christmas If You Live in a Small House with a Rambunctious Kitty

Being married and in our first home made me extra excited to decorate for every occasion, but especially Christmas. I started the day after Thanksgiving, which normally I think is a bit soon, but no one comes over often except for Matt's guy friends, and they wouldn't care, so I went ahead and started. It's been a drawn out process anyway. So, here's how I decorated our (perfect for us but still rather) small rental home so that it would look festive but still be as kitty-proof as possible.

Step One: Garland. It's the real stuff! Cut from cedar trees at M's grandparents' acreage. Then I wired the several branches together with floral wire and attached them to the mantle using nails carefully hammered right below the mantle shelf and more wire. I don't really have "process pictures" of this step.

I made stockings out of what I think is upholstery fabric (which Llyr adored laying on) for Matt, me, and Llyr, of course. I hung our most special ornaments on the mantle: our new "First Christmas" ornament, our pickle, and our "Wish" ornament. I worry a little about how well those nails will hold once the stockings get full, but I think they'll be all right with light items.
Step Two: Other Ornaments. What to do with the rest of my ornaments, though? They wouldn't all fit on the garland and at this point we weren't sure if we wanted to do a tree because of a) space, or lack of it, and b) kitty, who I'm sure would want to climb it. Since then I've seen some REALLY cool ideas for trees that aren't trees on buzzfeed (including drawn ones, small ones made of sticks, ones made of a ladder which actually looked pretty awesome, and another made of hanging green baubles. Check it out: http://www.buzzfeed.com/peggy/38-fabulous-diy-christmas-trees-that-arent-actual). I decided to hang some of my ornaments (not all the ones I have accrued over the years, but a favorite series, the Hallmark Puppy Love ornaments) in the area between the living room and kitchen. I used twine. The twine sags a little, but it works. There are my puppies! I also put up some of my "kid" decorations on shelves to (hopefully) keep them away from kitty.

Step Three: My Lego Train. Christmas decorations are not complete without the Lego train. I'm not sure if Llyr liked playing with it or was scared of it - he seemed to change his mind a lot. I eventually moved it out of the middle of the living room and next to one wall. I plan to pile presents in the middle of the track later on.
 Step Four: Advent Calendar. Matt asked if we'd have one like his mom always did for him and his brothers. There was a really cool idea in my Martha Stewart Magazine that used little muslin bags tied to branches, but I couldn't find any of those within the week or so after he asked me and before December started. I made little envelopes out of paper instead and hung them with ribbon and thumb tacks. Worked decently, but I had to secure a few envelopes with tape after putting the candies in them.

 Step Five:  Christmas Dragon. Matt bought me the first Christmas dragon a couple of Christmases ago. Unfortunately, he became a casualty of our kitty over the summer. Glass dragons only get to fly once, as Matt says. So the new Christmas dragon doesn't get to stay out as a decoration all the time. But his friend Mark Twain can!

 Step Six: Chalkboard Decorations. I do have "process pictures" of this one. I saw this idea (with a different quote for wall art) on Pinterest and it was genius. To get perfect font even if you don't have good handwriting (especially with chalk), just transfer the picture to the chalkboard. Basically, print out what you want to write/draw, color the entire area of the image on the back side of the paper with chalk (make it thorough), then tape the paper right side up to the chalkboard and color in every space that needs to transfer. You can go over the image again with chalk if it is too faint, but I liked the way mine turned out without doing that.


That's about all I have for now, but it has remained safe from crazy Llyr so far!